Viber is a smart way to connect with your near and dear ones through messaging and voice over IP, however, no specific direct storage of messages has been made possible on Viber. So, if you are someone who is using Viber and struggling with the back-up, here are a few steps that you can follow to store the chats and conversation done on Viber.
 PhoneArena
Message back up of Viber
Message back-up is made available on Android and iPhone only, in case, if you are using some other devices, it is highly advisable to save the messages as a file.
How to Back up Viber’s Message on Android Devices?
Also Check: History of Android
Viber Backup steps for Android :
Step 1
Open Viber App
Step 2
Select More Options Screen
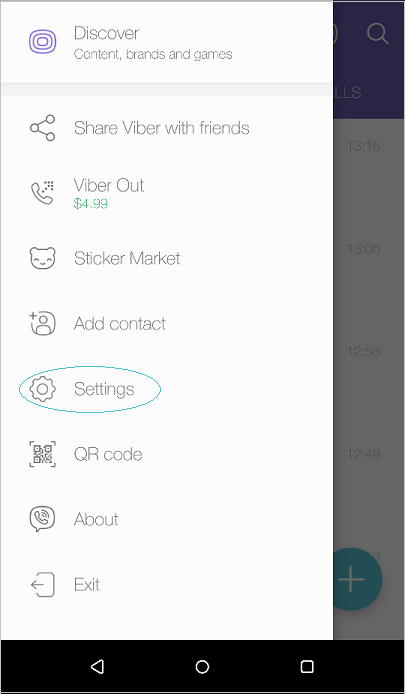
Step 3
Tap on “Settings”
Step 4
Tap on “Accounts”
Step 5
Tap on “Viber Back-Up”
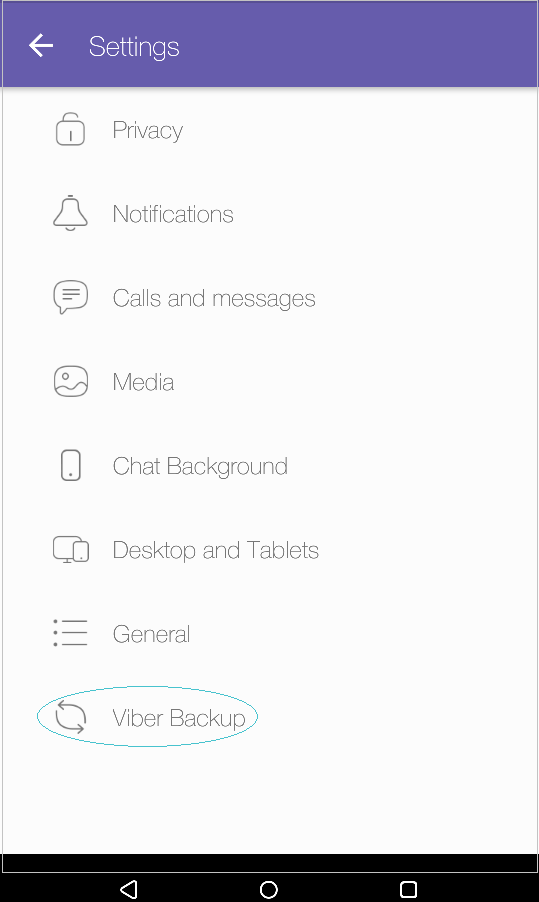
Step 6
Choose the “Viber Backup”
Step 7
Patience is a virtue, so stay virtuous till the back-up is restored.
How to Backup Viber on iOS devices?
On your iOS devices
Step 1
Open “Viber”
Step 2
Select the “More Options”

Step 3
Tap on “Settings”
Step 4
Tap or Select “Account”
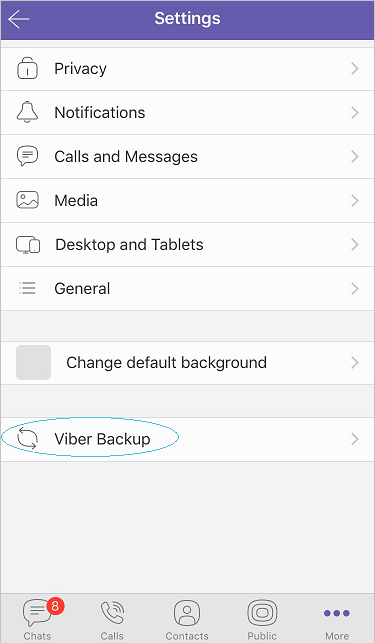
Step 5
Select the “Viber Backup”
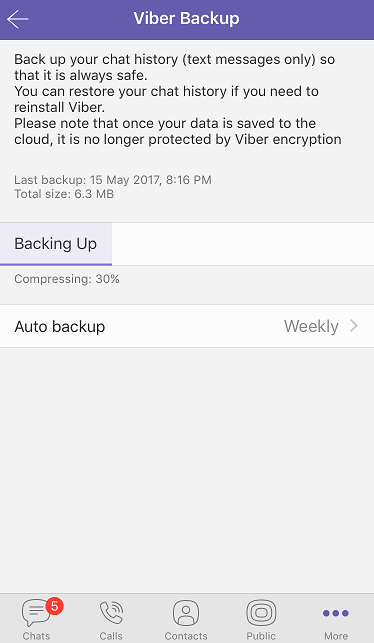
Step 6
Hold on for a while till Viber data has been uploaded on iCloud.
Viber Backup Steps for iOS :
For the iOS users, it is necessary that they have been connected to the iCloud before they initiate the back-up on the iCloud. In order to do that, it is necessary to do the following things.
Step 1
Open your iPhone or Mac Settings
Step 2
Choose iCloud and sign in to iCloud
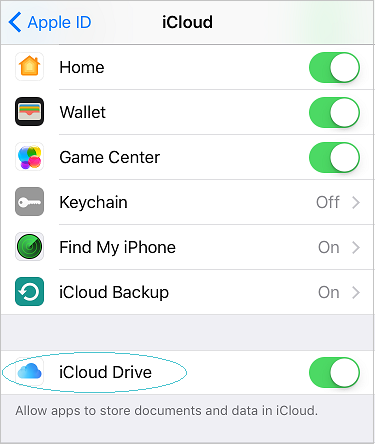
Step 3
You need to now select the “iCloud drive”
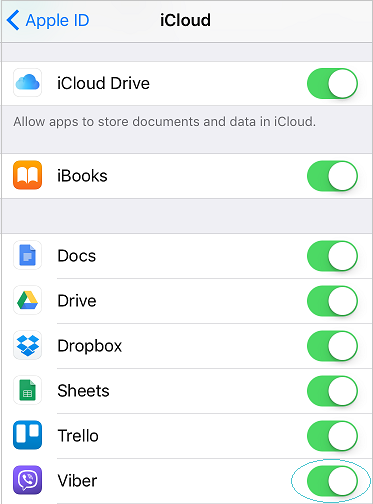
Step 4
Scroll through all other apps and make sure that Viber has been activated.
You can also initiate automatic backup on your iPhone for Viber. To meet with that, you must follow do the following steps, but keep note of the fact that backup will happen only when the phone is connected to WiFi.
Step 1
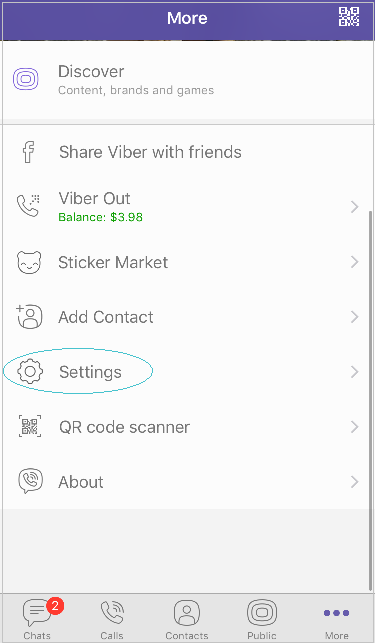
Open “More Screen”
 admin | Device Region
Step 2
Tap on “Settings” as given in the image above.
Step 3
Select the “Account Option”
Step 4
Select “Viber Backup”

In there, you will see “Auto Backup” option as well.
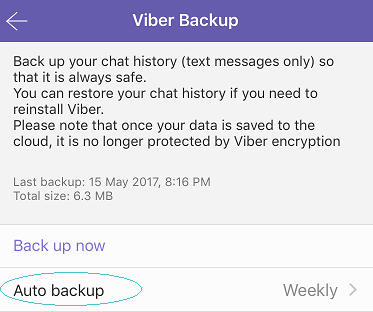
You can either choose “Real-time” back up or “Weekly” back up as per your discretion.
So, once you have uninstalled and then again re-installed Viber, you can do the following on the iDevices to keep your information always safe and accessible.
However, the restoration has been limited to specific kind of files. If you are looking forward to restore such files, it is certain that an error message will pop-up. Here are a few to be considered as a “non-applicable” back-up option.
- Hidden/ secret chats message history
- Outgoing photos and videos
- Older than two weeks media messages
- File content sent to you through Viber
- Any unsent messages
- Group likes and settings
- Conversation settings
Check Out :How to Check WhatsApp History:Unexplored Feature To Track Cheating Partners
Hope, now you are all figured with respect to the storage of information on Viper, you can contact us for more updates on technology and if you are facing any kind of glitch in the tech usage.


